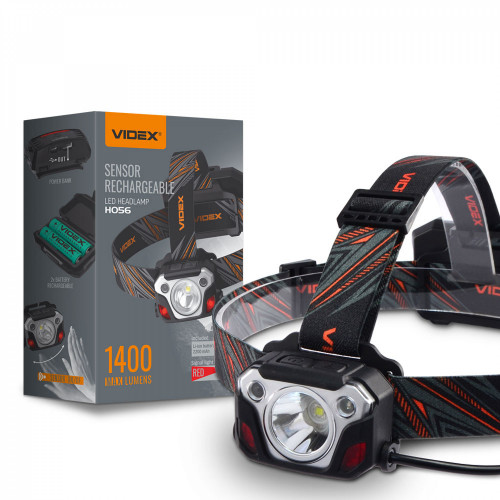
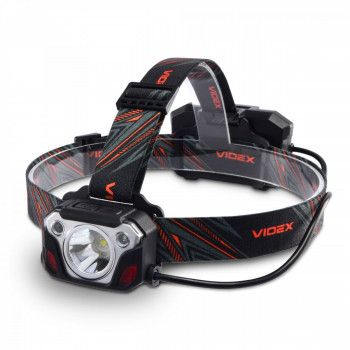
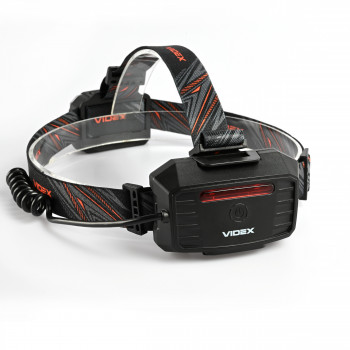
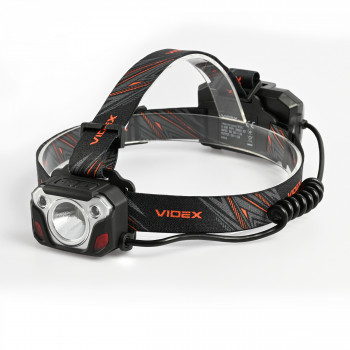
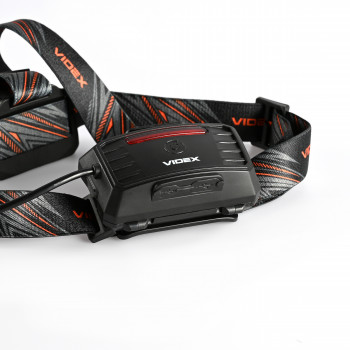
LED Headlamp VIDEX VLF-H056 1400Lm 6500K
LED Headlamp VIDEX VLF-H056 1400Lm 6500K
Product:
Cena:
1 gab.
€ 41.90
≥ 2 gab.
€ 37.71
Delivery time at the pickup address:
Currently option in not available
Shipping time to parcel box:
To our warehouse:
In our stock
Shipping company:
2
working days
Total days:
2
working days
Tuesday 22.04.2025
Shipping cost:
From € 2.50
Shipping time by courier:
To our warehouse:
In our stock
Shipping company:
3
working days
Total days:
3
working days
Wednesday 23.04.2025
Shipping cost:
From € 4.90
In order for above mentioned delivery dates by parcel locker and courier to be met, order has to been placed in time and seller has managed to send it out by the end of working day.
-
Jauda (W):LED Luminus SST40 20W
-
Gaismas plūsma (lm):1400
-
Krāsas spektrs (K):6500
-
Stara leņķis (°):
-
Pielietojums:Iekštelpas/Ārtelpas
-
Krāsa:Melna
-
Mitruma aizsardzības klase:IP65
-
Triecienu aizsardzības klase:Fall protection: 1 m
-
Sensors:
-
Garantija:3
-
Produkta izmēri (GxPxA) mm:48x65x32
-
Materiāls:Plastikāts, polikarbonāts, alumīnijs
-
Svars (kg):0.171
-
Skaits iepakojumā (gab.):20
-
Patrona:Input interface: USB-C
-
Nominālais spriegums (V), frekvence (Hz):DC 5V, 2A (Li-ion 18650, 2 x 2200 mAh)
-
Kalpošanas laiks (h):Battery repleceable: yes, Full discharge time: 18h 30min, Battery voltage: 3.7 V, Full charge time: 3 h
-
Difuzora materiāls:Magnetic base: No, Lens material: Polycarbonate (PC), Reflector surface: Smooth
-
Darba temperatūras diapazons (°C):-20° +40°C
-
Aptumšojams (Dimmēšana):Operation mode: HIGH,LOW,RED ON,RED FLASH,COB + HIGH,COB HIGH,COB LOW,FLASH
-
Diapazons (attālums m):
MAIN FEATURES
*Maximum brightness 1400 lumens with powerful LED
*Built-in motion sensor for swift turning on/off
*Additional USB output with power bank function.
*Water resistance IP65 (protected from all precipitation)
*Front and rear signal red lights
INCLUDED
• Headlamp VLF-H056;
• Charging cable;
• Nylon headband;
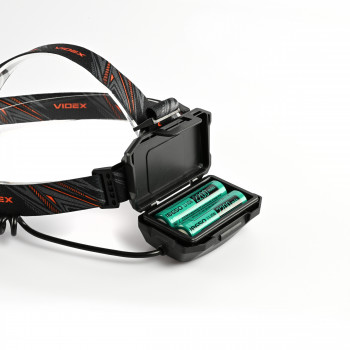
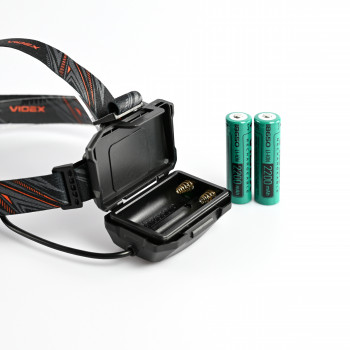
• Li-ion rechargeable batteries Videx 18650 2200 mAh 2pcs
• User’s manual.
LIGHTING MODES
High – maximum brightness
Low – minimum brightness
Strobe – flashing light
Red on – constant red light
Red flash – flashing red light
OPERATING INSTRUCTION
ON/OFF and Modes selection:
Press the ON button to turn the light on, cycle through the modes, and turn the light off . Press and hold the ON button for 0.5 seconds with the light on to memorize the current mode and turn off the light. The saved mode will be applied next time.
If more than 5 seconds have passed since the last press of the ON button, the next press of the button will also turn off the light and remember the current mode.
SENSOR:
Press the SENSOR button when the light is off to activate induction mode. With induction on, you can control the light by waving your hand near the headlight: 1st waving to turn on the Low mode; 2nd waving to switch to High mode; 3rd waving to turn off the light.
The blue indicator informs that the induction mode is activated. Press the SENSOR button with the light switched on to remember the current lighting mode and later turn it on/off using the sensor. Press again to deactivate the sensor.
REAR RED LIGHT:
Tap the ON button with the light switched on or with the sensor activated to turn on/off the rear signal light.
Press and hold the ON button for 3 seconds to turn on/off the rear constant red light.
LOCK/UNLOCK:
With the light switched off, press and hold both ON and SENSOR and buttons for 3 seconds to lock/unlock the headlamp.
BATTERY STATUS INDICATION
With the light switched off , press and hold the rear button for 1 second to see the battery status. The indication will last for 3 seconds. The battery status is also continuously displayed when the light switched on or the sensor activated.
4 divisions - ≤80% charge;
3 divisions - ≤60% charge;
2 divisions - ≤40% charge;
1 division - ≤20% charge;
1 division flashes – battery discharged
CHARGING
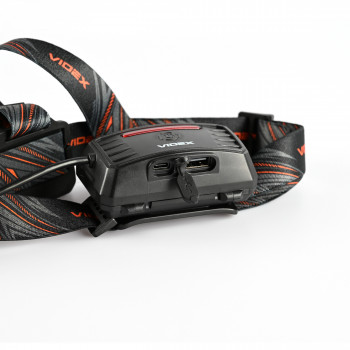
Plug the USB-A socket of the charging cable into the electrical outlet. Switch off the light, open the protective cover and connect the charging cable to the flashlights USB-C input port. When charging, the divisions flash indicating the current battery level. When fully charged, all 5 indicator bars are constantly on. After a full charge, unplug the charging cable and close the protective
cover to prevent water and dust from entering inside.
© The original rechargeable batteries are supplied charged and can be used immediately after purchase, however it is recommended that the battery be fully charged before first use. The battery needs to be
charged in time before it is completely discharged. During long periods of storage, it is recommended to keep the battery charging level at about half capacity to extend its service life.
CHARGING EXTERNAL DEVICES
The rear battery case has an additional USB 2.0 output port that Allows you to charge external devices, such as mobile phones, smart watches, tablets etc. Switch off the light, open the protective cover and plug the USB-A socket of the charging cable to the flashlights output port. Then connect the charging cable to the input port of the external charging device.
After charging is finished, unplug the charging cable and close the protective cover to prevent water and dust from entering inside.
BATTERY REPLACEMENT
a) Pull up the lock located on top of the battery case and open the back lid;
c) Insert compatible batteries according to the diagram shown on the inside of the battery case;
d) Close the lid until it snaps and test the headlamp.


