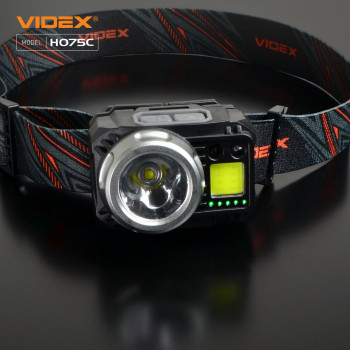
LED Headlamp VIDEX VLF-H075C 550Lm 5000K
Image
Image
Image
Image
Image
Image
Image
Image
Image
Image
Image
Image
Image
Image
Image
Image
Image
Image
Image
Image
Image
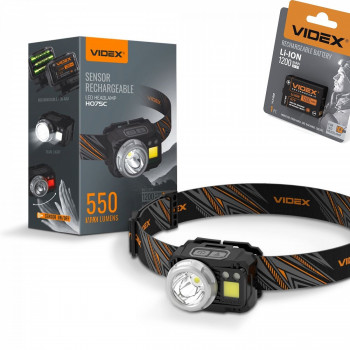
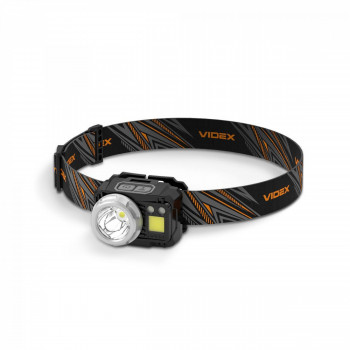
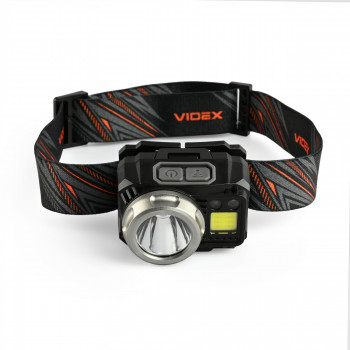
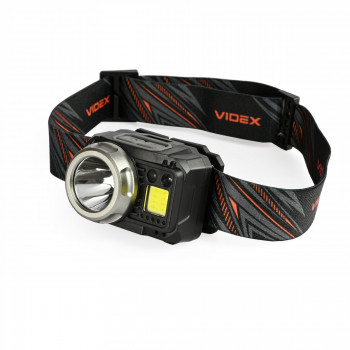
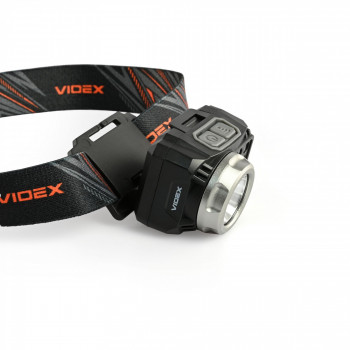
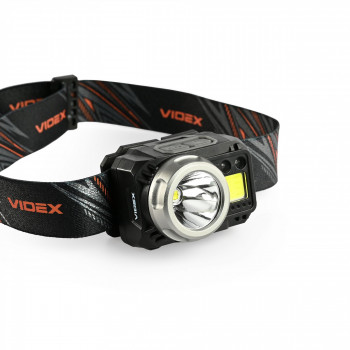
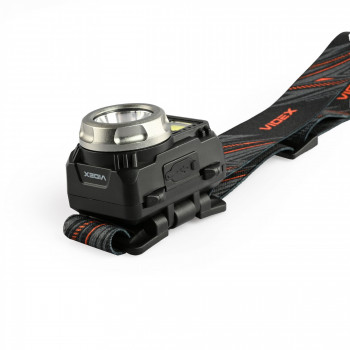
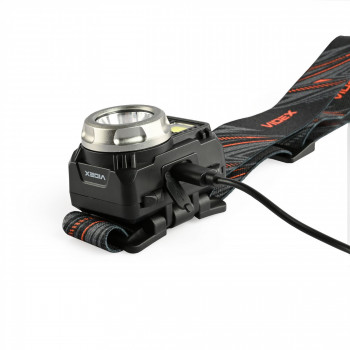
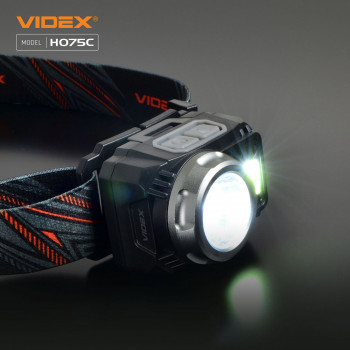
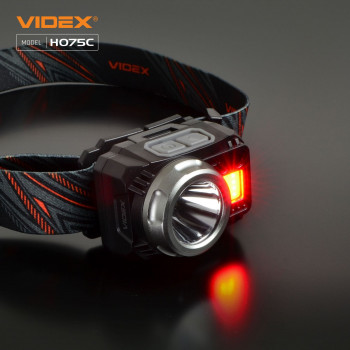
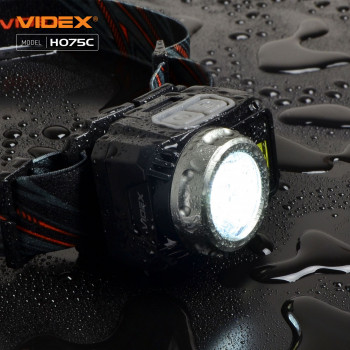
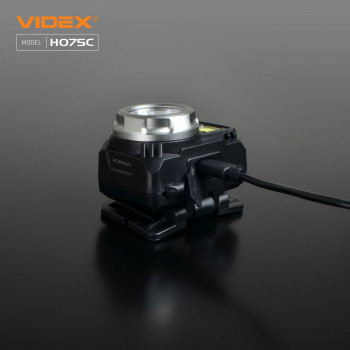
LED Headlamp VIDEX VLF-H075C 550Lm 5000K
Product:
Cena:
1 gab.
€ 29.90
≥ 2 gab.
€ 26.91
Delivery time at the pickup address:
Currently option in not available
Shipping time to parcel box:
To our warehouse:
In our stock
Shipping company:
2
working days
Total days:
2
working days
Tuesday 22.04.2025
Shipping cost:
From € 2.50
Shipping time by courier:
To our warehouse:
In our stock
Shipping company:
3
working days
Total days:
3
working days
Wednesday 23.04.2025
Shipping cost:
From € 4.90
In order for above mentioned delivery dates by parcel locker and courier to be met, order has to been placed in time and seller has managed to send it out by the end of working day.
-
Jauda (W):LED CREE XPG3 5W + COB 5W
-
Gaismas plūsma (lm):550
-
Krāsas spektrs (K):5000
-
Stara leņķis (°):
-
Pielietojums:Iekštelpas/Ārtelpas
-
Krāsa:Melna
-
Mitruma aizsardzības klase:IP65
-
Triecienu aizsardzības klase:Fall protection: 1 m
-
Sensors:
-
Garantija:2
-
Produkta izmēri (GxPxA) mm:45x60x50
-
Materiāls:Poliamīds, neilons, polikarbonāts,
-
Svars (kg):0.078
-
Skaits iepakojumā (gab.):20
-
Patrona:Input interface: USB-C
-
Nominālais spriegums (V), frekvence (Hz):DC 5V, 0.8A, 1200 mAh
-
Kalpošanas laiks (h):Battery capacity: 1200 mAh, Battery repleceable: yes, Full discharge time: 30 h, Battery voltage: 3.7 V, Full charge time: 2.5 h
-
Difuzora materiāls:Magnetic base: No, Lens material: Polycarbonate (PC), Reflector surface: Smooth
-
Darba temperatūras diapazons (°C):-20° +40°C
-
Aptumšojams (Dimmēšana):Operation mode: HIGH,LOW,RED ON,RED FLASH,COB + HIGH,COB HIGH,COB LOW,FLASH
-
Diapazons (attālums m):
MAIN FEATURES
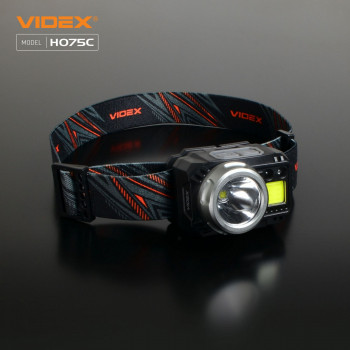
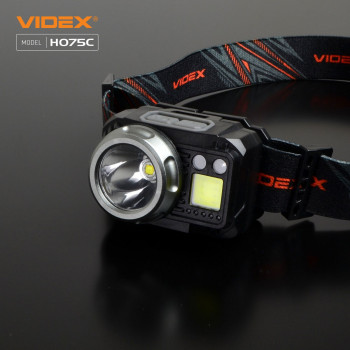
* High maximum output 550 lumen.
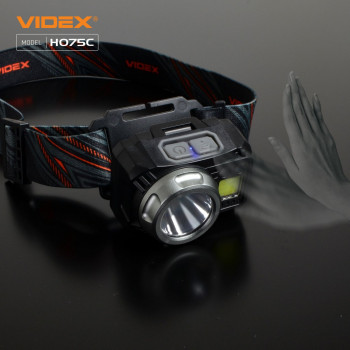
* Built-in motion sensor
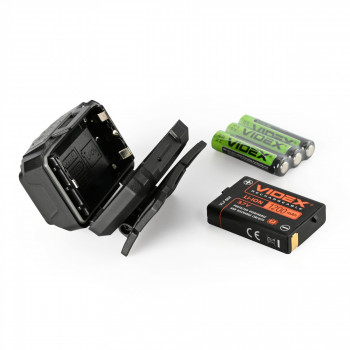
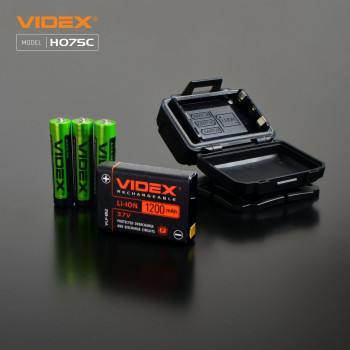
* Works with Li-Ion battery and AAA batteries
* High brightness red light.
* Light weight.
INCLUDED
• Headlamp VLF-H075C;
• Head band;
• Li-Ion rechargeable battery Videx VLF-B12 1200mAh;
• Videx alkaline battery AAA 3pcs;
• Charging cable;
• User’s manual.
LIGHTING MODES
High – main light maximum brightness
Low – main light minimum brightness
COB High – secondary light maximum brightness
COB Low – secondary light minimum brightness
COB+High – total maximum brightnes
Red on – red continuous light
Red flash – red flashing light
OPERATING INSTRUCTION
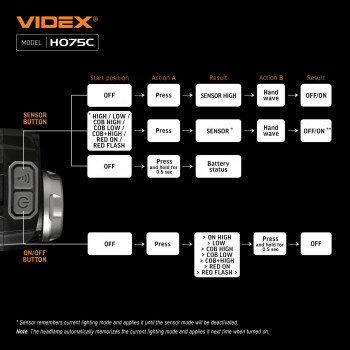
ON Button - turns the light on and off and switches between modes. Short press ON button – turn on the light and switch between modes cyclically.
Long press (0.5 seconds) ON button with the light switched on - remember current mode and switch the light off .
Short press again – turn on the last remembered mode.
SENSOR Button – activates a sensor that allows you to turn on/off the light using gestures, displays the current battery level.
Short press SENSOR button with the light switched on - remember current mode and later switch on/off by the sensor. A blue light between buttons indicates that the sensor is activated. After that, you can turn on/off the last selected mode with a wave of your hand at a close distance from the device.
Short press SENSOR button with the light switched off - turn on HIGH mode and switch on/off by sensor.
BATTERY STATUS INDICATION
With the light switched off , press and hold the button for 0.5 seconds to see the battery status. The indication will last for 3 seconds. The battery status is also continuously displayed when the light is turned on.
5 divisions - ≤100% charge;
4 divisions - ≤80% charge;
3 divisions - ≤60% charge;
2 divisions - ≤40% charge;
1 division - ≤20% charge;
1 division flashes – battery discharged.
CHARGING
ATTENTION! Only VLF-B12 3.7V lithium-polymer battery can be charged. AAA batteries cannot be charged!
Plug the USB-A socket of the charging cable into the electrical outlet. Switch off the light, open the protective cover and connect the charging cable to the headlamp port.
When charging, the indicator flashes. When fully charged, all 5 divisions of the indicator glow constantly.
After a full charge, unplug the charging cable and close the protective cover to prevent water and dust from entering the headlamp body.
© The original batteries are supplied charged and can be used immediately after purchase, however it is recommended that the rechargeable battery be fully charged before first use. The battery needs to be charged in time before it is completely discharged. During long periods of storage, it is recommended to keep the battery charging level at about half capacity to extend its life time.
BATTERY REPLACEMENT
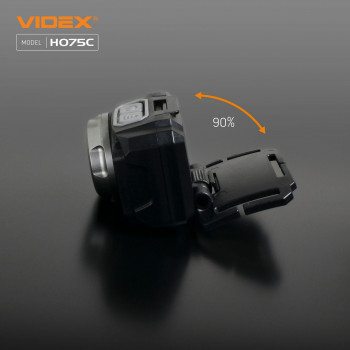
a) Fully open the mechanism for adjusting the angle of the lantern;
b) Pull up the lock located behind the control buttons and open the back cover;
c) Insert the battery/s according to the diagram shown on the inside of the battery compartment;
d) Close the cover until it snaps and test the headlamp.


